
Over the past month, I've been setting up a blog using Jekyll, the Ruby-based static website generator. I've been using Wordpress for the past three years, and while I like the amount of customization they provide, I just felt like it was time to simplify.
You can install Jekyll using the command line. Depending on the type of markdown language you prefer, there are several other gems that can be installed. You can also choose to write your posts in HTML if you're like me and are not very familiar with markdown.
Jekyll also uses Liquid to process templates, and it has its own array of shortcuts and keywords that make life easier.
So why switch? Having been through a Blogspot, a Wordpress.com blog, and a hosted Wordpress.org blog, I've been blogging on and off for approximately 5 years. If you've ever loaded a Wordpress blog on a mobile device, the speed is exceptionally slow. Also, any amount of customization involved edition hundreds of PHP files, which I know little about.
Jekyll is written in Ruby syntax, which I am familiar with, and it involves loading single static file for each post. It's quick, simple, and built to use with GitHub. In fact, you can host an entire Jekyll blog on GitHub and just push your posts via command line. I'm not going to go over that in this post, but it's one of the many possibilities available with Jekyll.
This blog is also a work in progress. I am still writing my posts in HTML instead of Markdown, which I hope to change in the coming weeks. I have not enabled comments yet, but plan to do so very soon. Overall, I finally feel that I have complete control over the look and configuration of my blog without using a pre-made template.
This post is divided into two sections - setting up Jekyll using the command line, a brief description of its folder structure, and instructions on setting up your first blog. The second part describes how to host a Jekyll blog using Amazon's S3 storage service. I'd recommend a bit of familiarity with the command line, FTP clients, DNS, and of course basic HTML and CSS before diving into this post. Or you could just Google a ton of stuff like I did and figure it out as you go. Okay, let's get started.
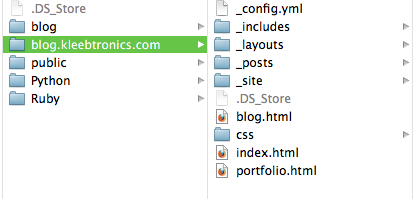
The folder structure in a Jekyll site is relatively straightforward. The config.yml stores configuration data such as the type of markdown language, the base URL, and custom plugin settings. These commands can also be executed via command line, so it's not terribly important to worry about this right now.
The _includes folder contains files that can be accessed by your posts or layouts, but is also not necessary right now.
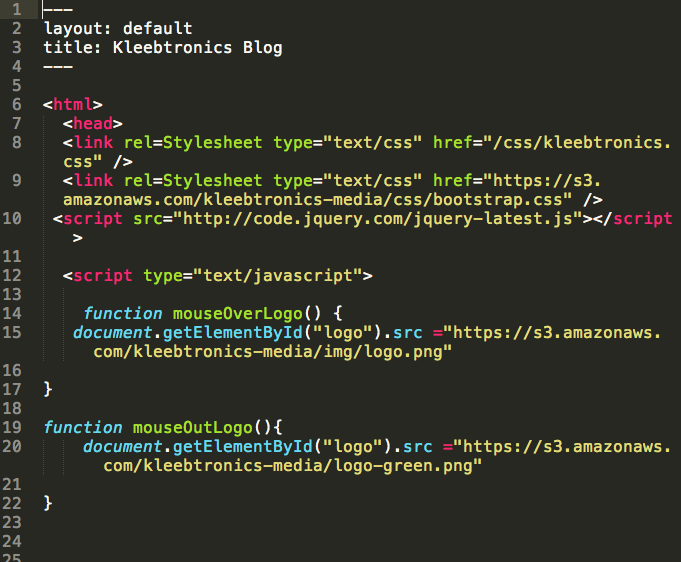
The _layouts folder contains the html template for each layout structure. Think of it as the "frame" around the content. The default.html file should suffice for now.
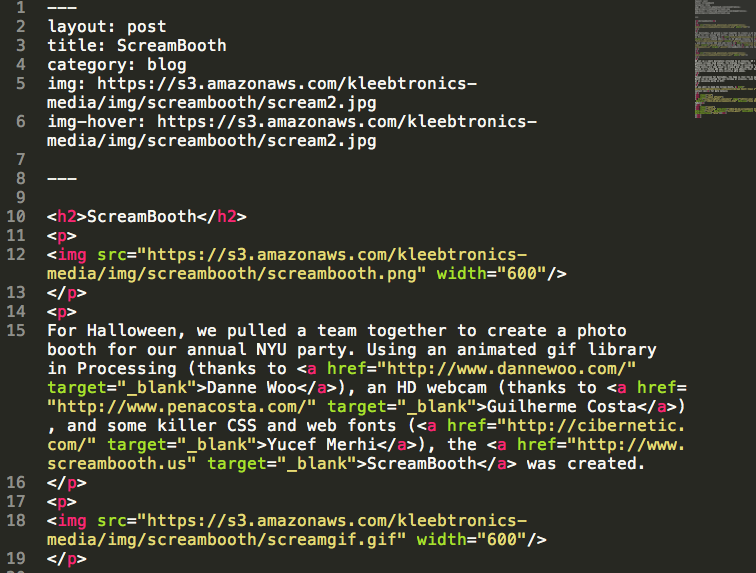
Each post will be saved as a single file inside the _posts folder. Saving it as YYYY-MM-DD-POST-TITLE.html will automatically sort the posts chronologically and display them correctly. Any additional variables (category, img, etc) can be specified here and accessed by other layouts.
The _site folder will not appear until jekyll compiles your site for the first time. We'll skip over this for now.
The index.html file is very important, as this is the landing site for your blog. My index file looks like this:
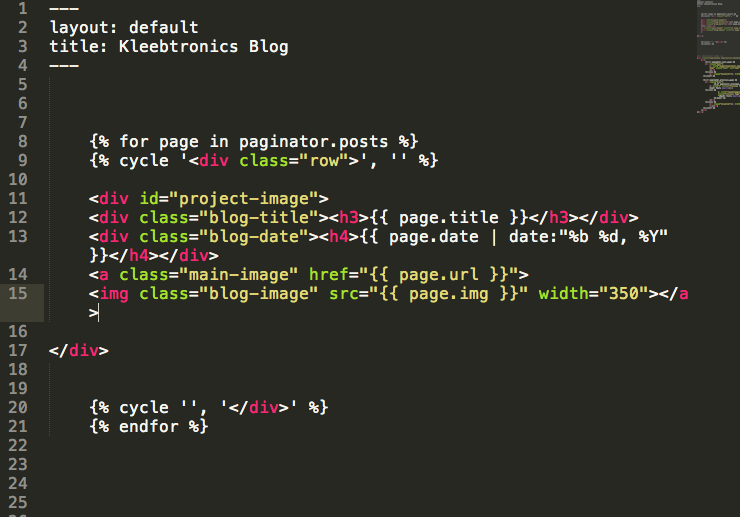
The syntax might look a bit strange, but it's essentially going through each "page" and grabbing the title, date, url, and image of each blog post. These are then displayed in the index.html file.
Once you've got an index.html, a layout, and some posts saved, just run: jekyll --server in the command line (after you navigate to the correct folder) and the _site folder should generate. The site should be hosted on localhost:4000 by default. Don't forget to add some CSS!
There are many existing sites using Jekyll that have open source code. I learned a lot about pagination (how many posts are displayed at a time) by looking at Brett Hardin's blog, and I really recommend going through the GitHub repositories for a few of these sites to see how more intricate details are done.
Since Jekyll generates static sites, the entire blog can be hosted on Amazon's S3 cloud storage system. Of course, there are hundreds of other ways to host a Jekyll blog, but since I've been using S3 frequently, I decided to give it a shot.
As of December 2012, Amazon now offers root domain hosting as well. This means that you can have www.myblog.com as well as myblog.com hosted on S3.
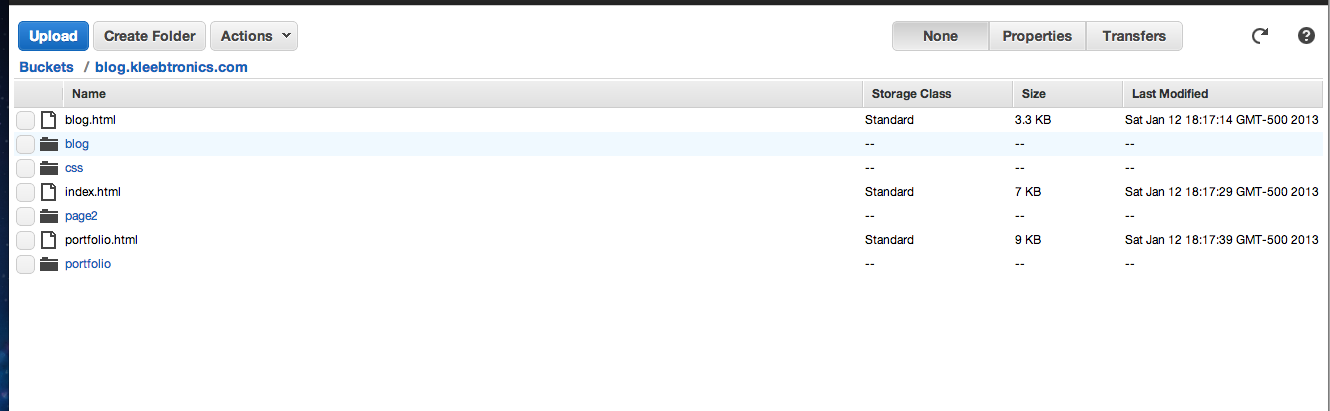
S3 uses "buckets" to contain the files it hosts. To host a website, you must name your bucket the exact name of the site (e.g. blog.kleebtronics.com) There are detailed instructions for setting up a bucket specifically for hosting.
There are several ways to put files into your Amazon S3 bucket. I explored two different methods for my Jekyll blog. The first was a more user-friendly program called Transmit.
![]()
Transmit is basically an FTP client that has built-in S3 compatibility. It works great for the "drag and drop" users.
For the command-line savvy, there's also s3cmd, a tool for accessing your S3 bucket via the terminal.

Remember, only upload the _site folder to S3, and make sure permissions are set to public.
If you have a custom domain already, you'll have to transfer your NS records to Amazon's Route 53 service to point to S3. This is all outlined in Amazon's instructions.