Introduction
In this class, we'll learn how to build homemade drum pads that play sounds we record
We'll use a handheld recorder to record the sounds, and an Arduino to connect the pads to the software.
Skills we'll learn: recording, MIDI, Arduino, Audacity, GarageBand, soldering

Week 1: Building Pads
We'll use Piezo Transducers to make the pads. These create a small voltage when you hit them.

Week 1: Building Pads
We'll use Piezo Transducers to make the pads. These create a small voltage when you hit them.
To protect them, we'll put them between wood and foam, so that they can be played like a drum pad.

Week 2: Recording Sounds
The drum pads will trigger sounds we make in the real world. This week, we'll learn how things sound when you hit them with a drumstick. Then we'll record them so we can play them later.

Week 2: Recording Sounds
We'll use the Zoom H4N Audio Recorder to record the sounds.

Week 3: Editing Sounds
This is what our sounds look like inside of audacity

Week 3: Editing Sounds
We'll learn about delay, tempo, phasors, tremolo, and other audio effects

Week 4: Intro to Arduino
This week, we'll learn about the Arduino microcontroller. We'll use this to turn LEDs on and off, and then we'll look at how to read the drum pads.

Week 4: Intro to Arduino
Use the Examples folder to learn about analog and digital pins.

Week 5: Intro to MIDI
This week, we'll learn how to read analog inputs from our drum pads on the Arduino.

Week 5: Intro to MIDI
This is the circuit for each drum pad. A 1 Mega-ohm Resistor goes between the red and black wires. We soldered this to our jack and put heat shrink around it.
Each pad goes into a different Analog Input pin. For this project, we'll use A0, A1, and A2 for our three pads.
To make the pads work with MIDI, we'll need to download the MIDI libarary for Arduino.

Week 5: Intro to MIDI
Once you download the MIDI library, be sure to put the unzipped folder into the Libraries folder inside of the Arduino folder. (Shown below)

Week 5: Intro to MIDI
Close and Re-open Arduino to use the MIDI examples.

Week 5: Intro to MIDI
Open the Midi_Basic_IO sketch and see how the Arduino sends MIDI notes.

Week 5: Intro to MIDI
Edit this so that we can send MIDI notes using the Analog Read function. Then upload to the Arduino.

Week 5: Intro to MIDI
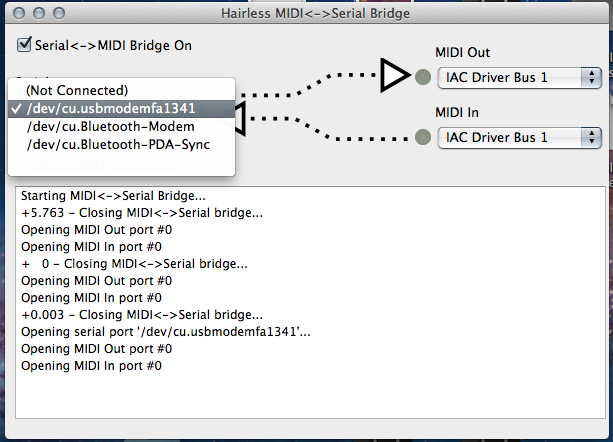
In order to send MIDI notes to GarageBand, we'll have to download the Hairless program.
Be sure to select the Arduino from the menu. It should have the word 'usbmodem' in the title. Do not select anything that says 'Bluetooth'
Week 6: Playing Drums!
Now that we've got MIDI signals going from Arduino to Hairless, we want to see them inside of GarageBand
Week 6: Playing Drums!
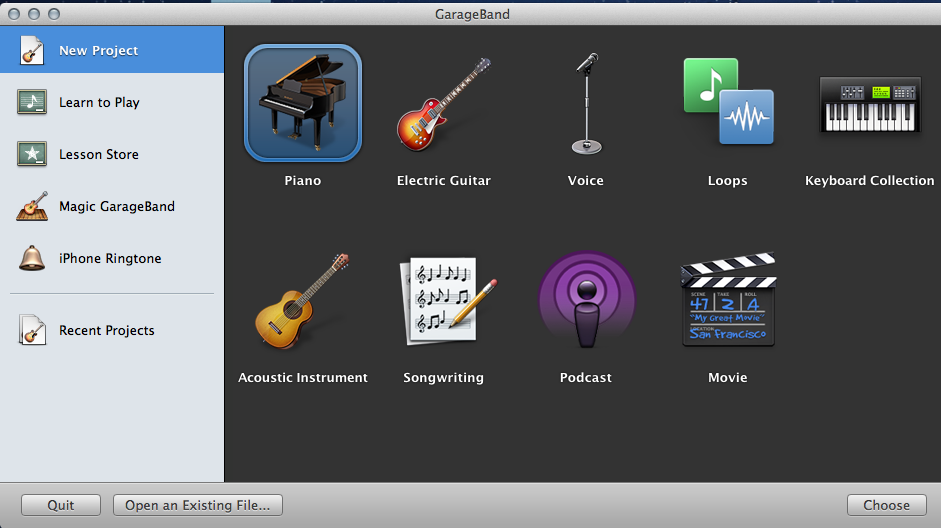
Open GarageBand and open a new project. Name it however you like.
Week 6: Playing Drums!
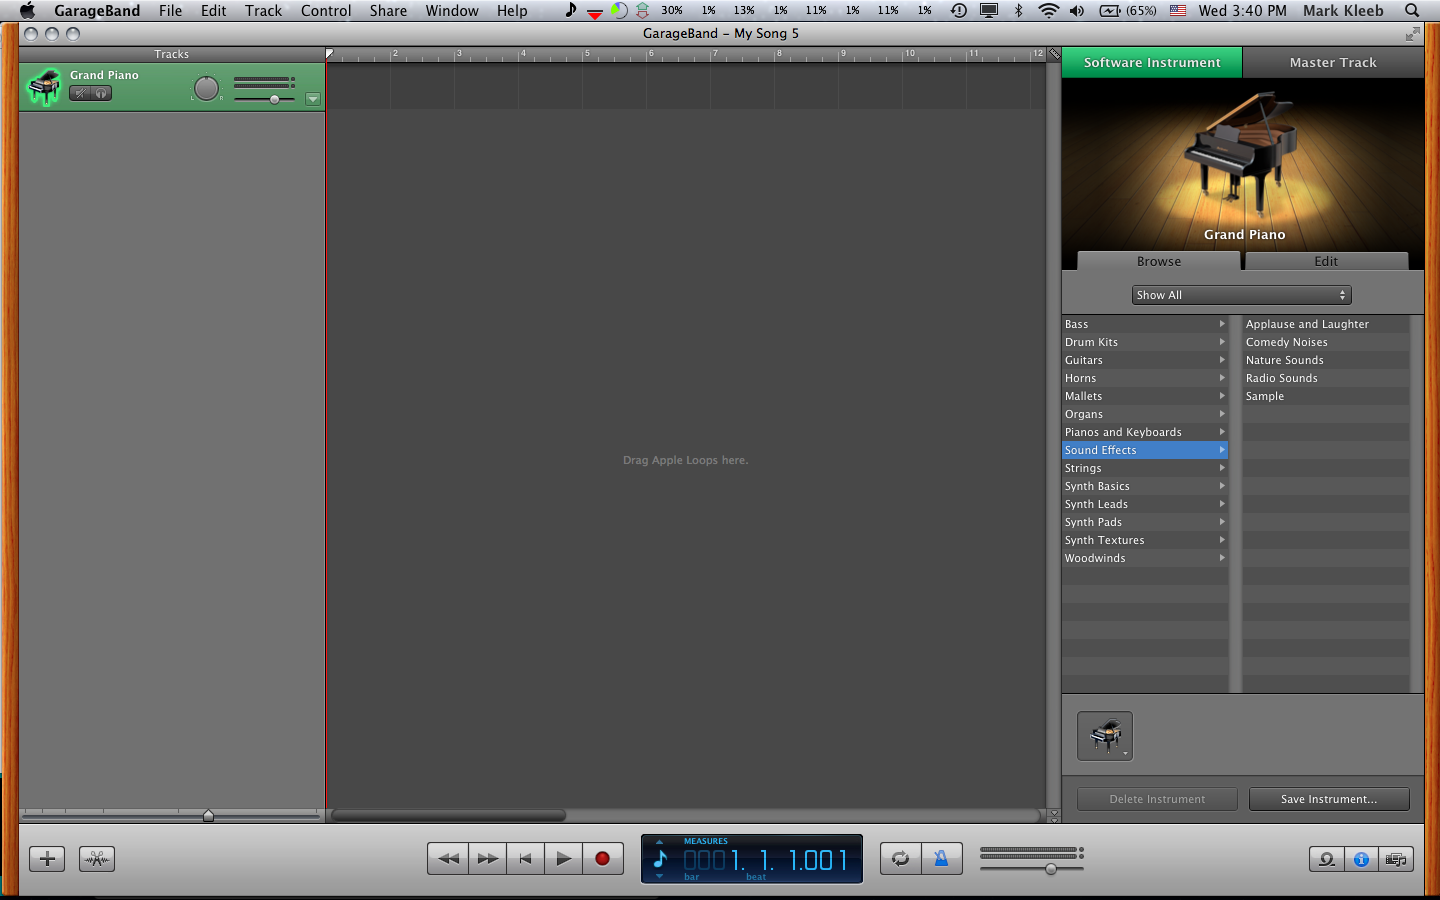
On the right-hand side, click on Sound Effects
If this window is not visible, click Show Track Info under the Track menu.
Choose Applause and Laughter for now, but we'll change it later.
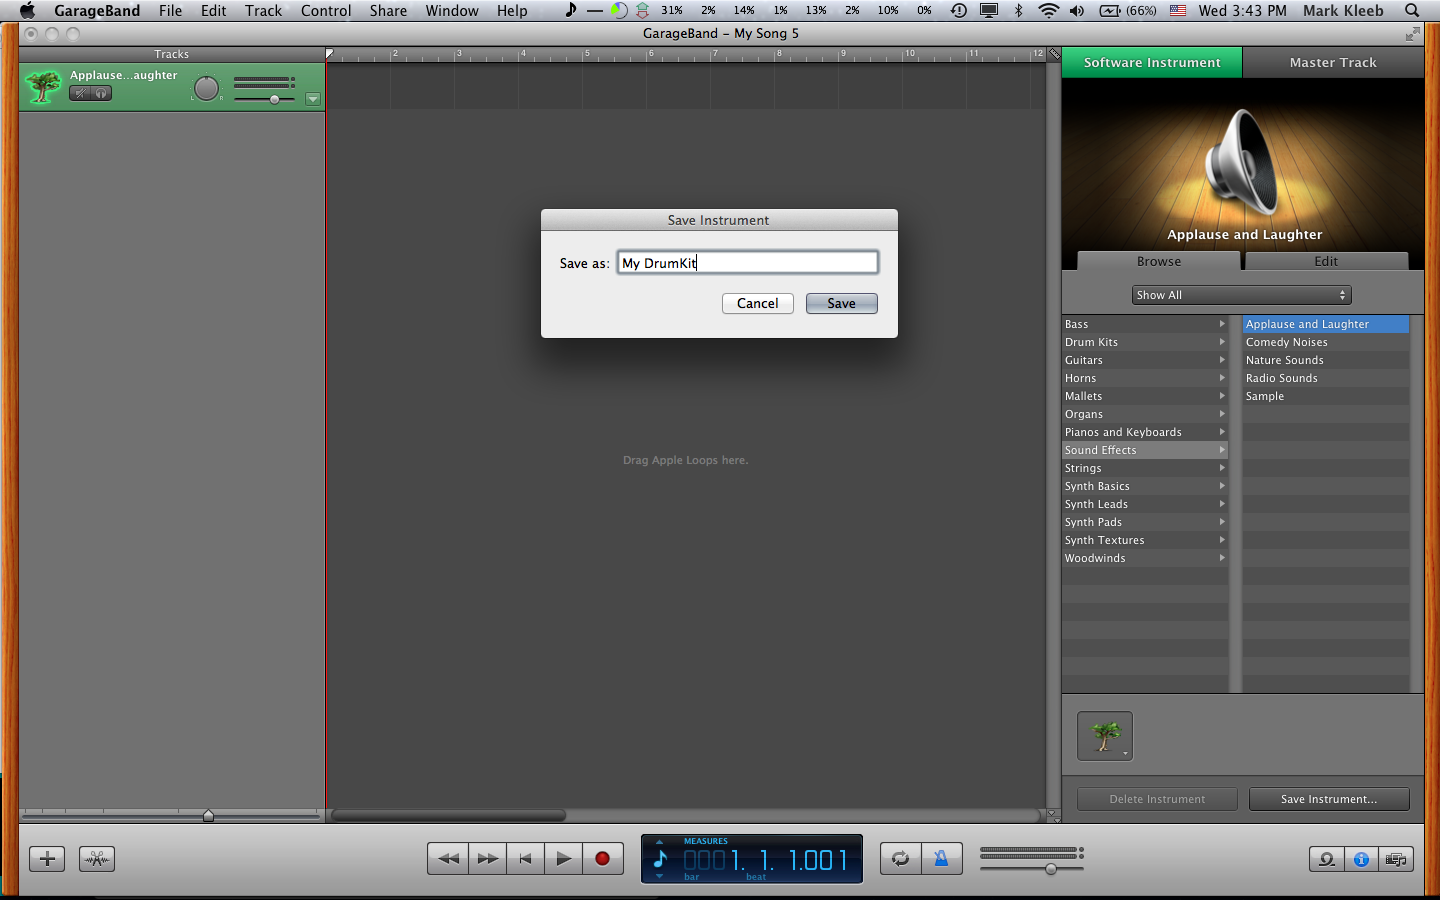
Week 6: Playing Drums!
Choose Save Instrument at the bottom
Name this instrument My Drum Kit (or whatever name you like)
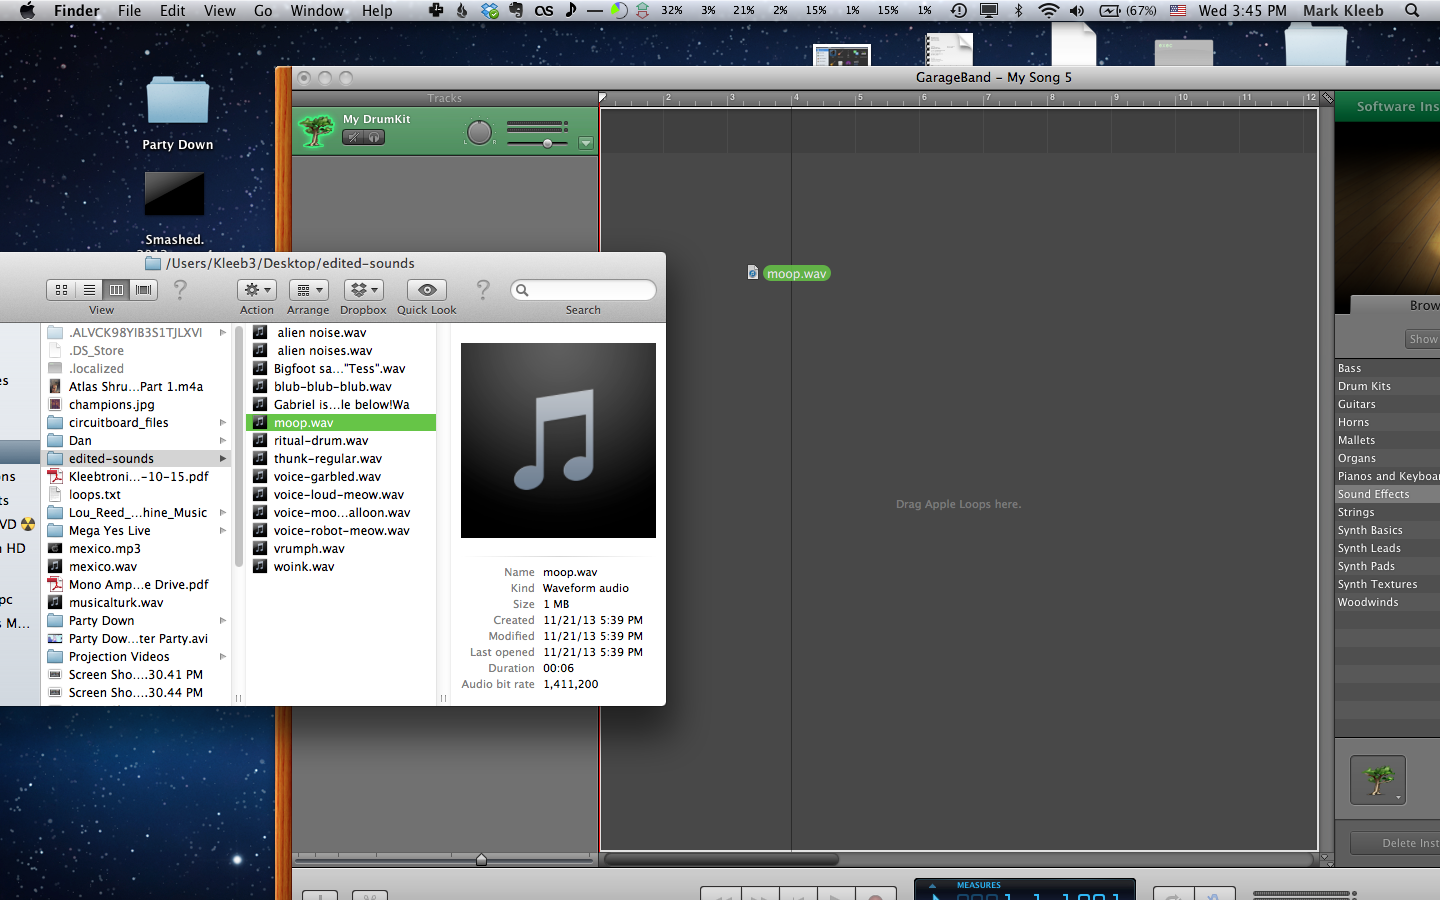
Week 6: Playing Drums!
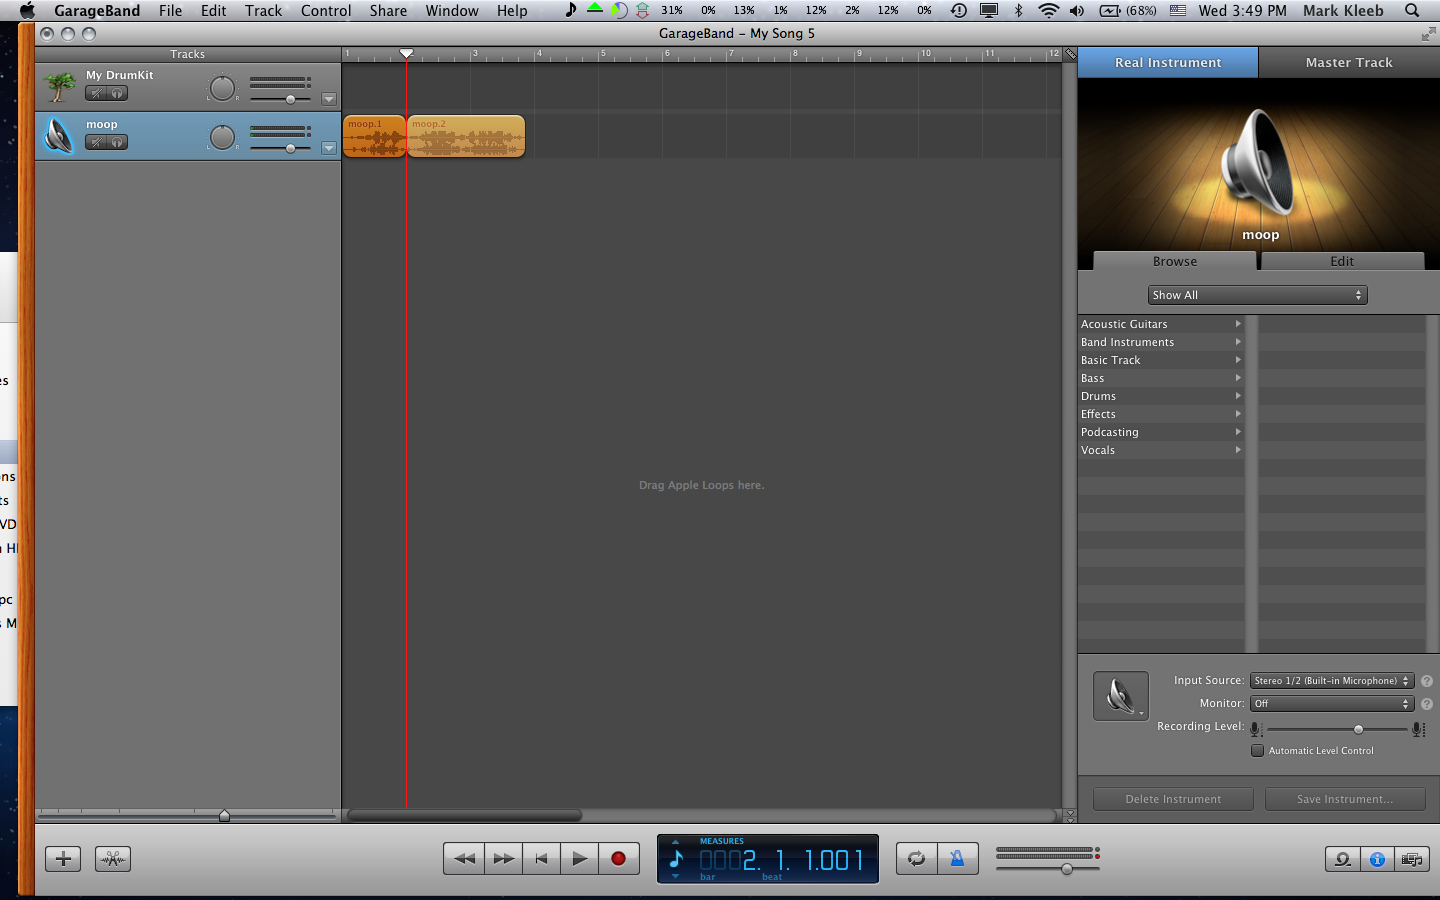
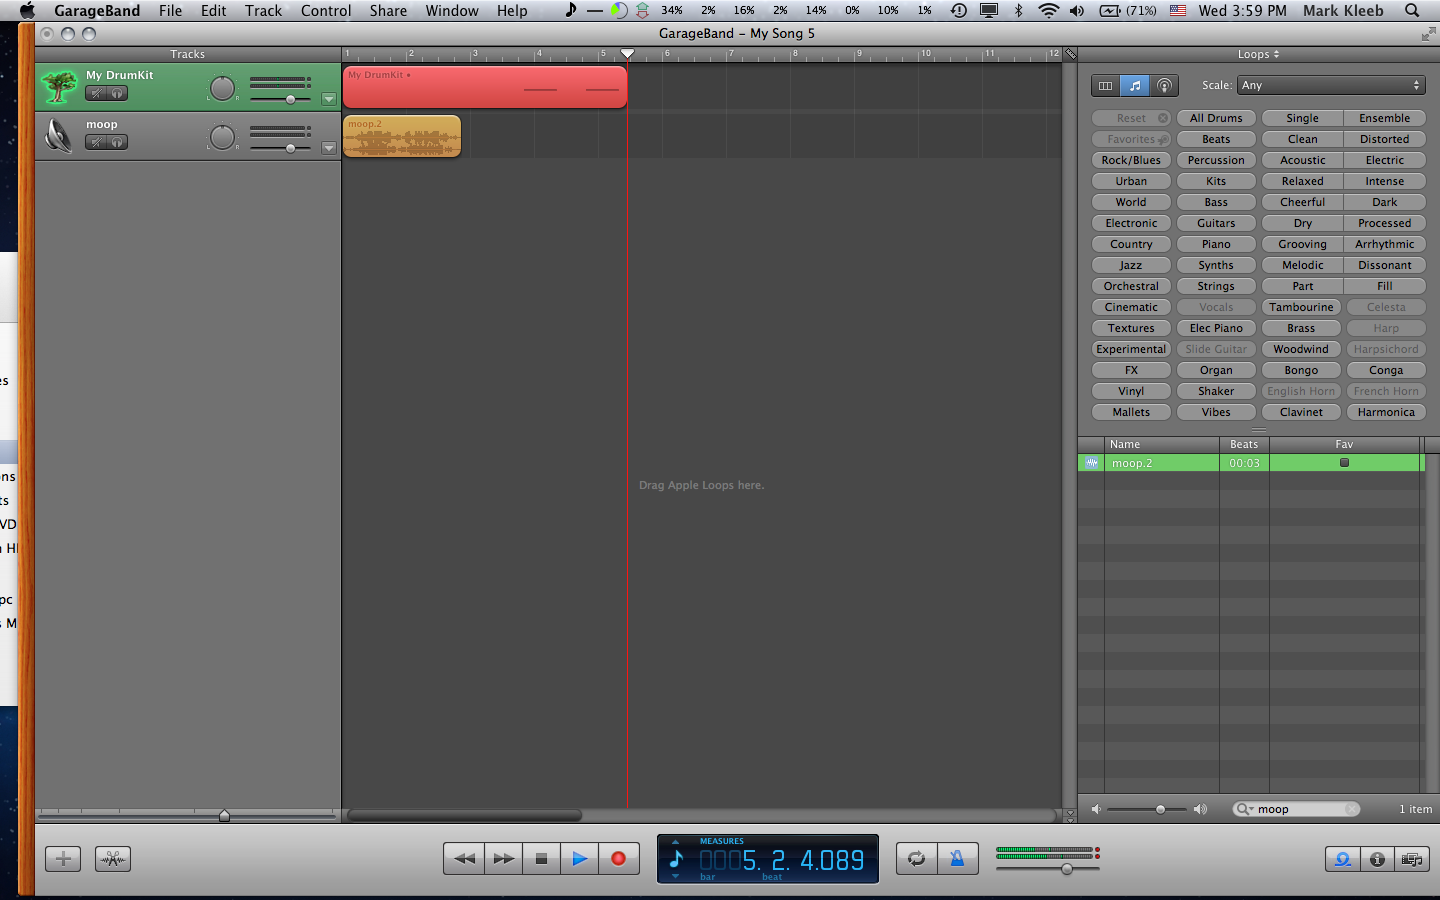
Drag an edited sound into the GarageBand window
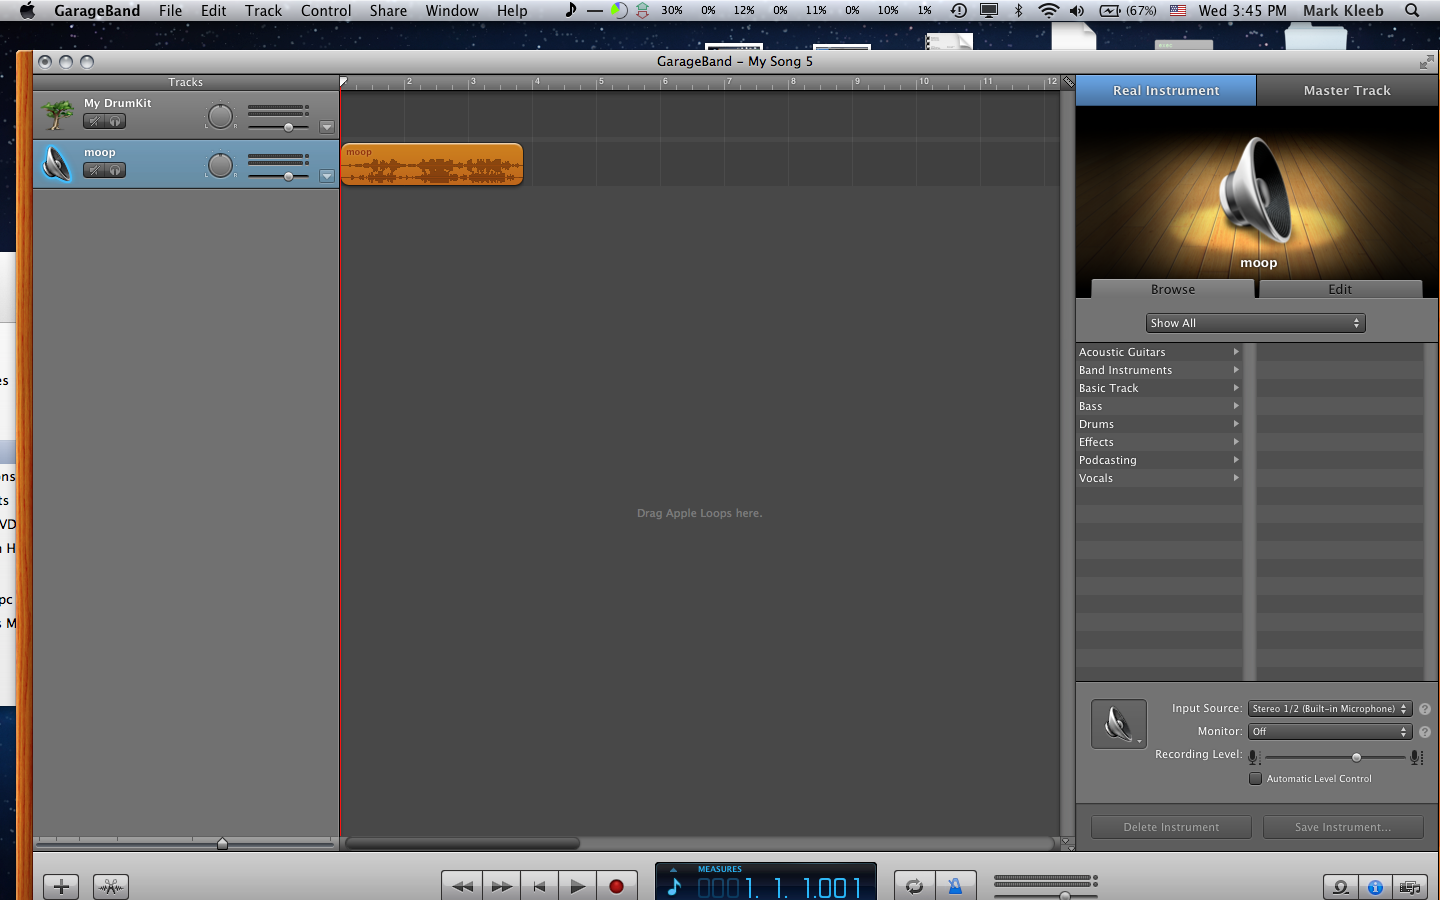
Week 6: Playing Drums!
You should see the sound wave on a new track
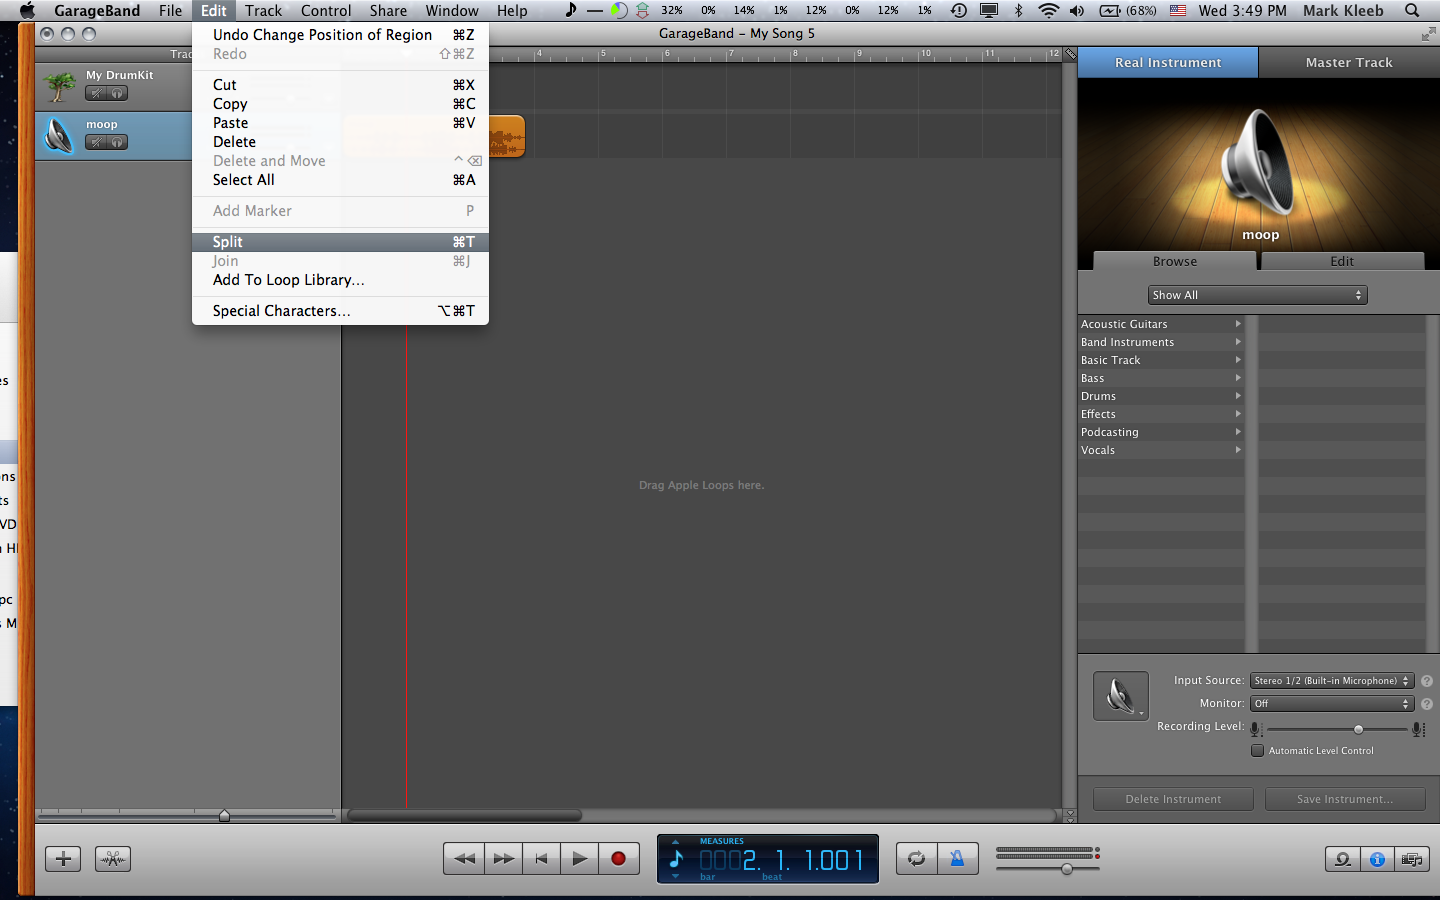
Week 6: Playing Drums!
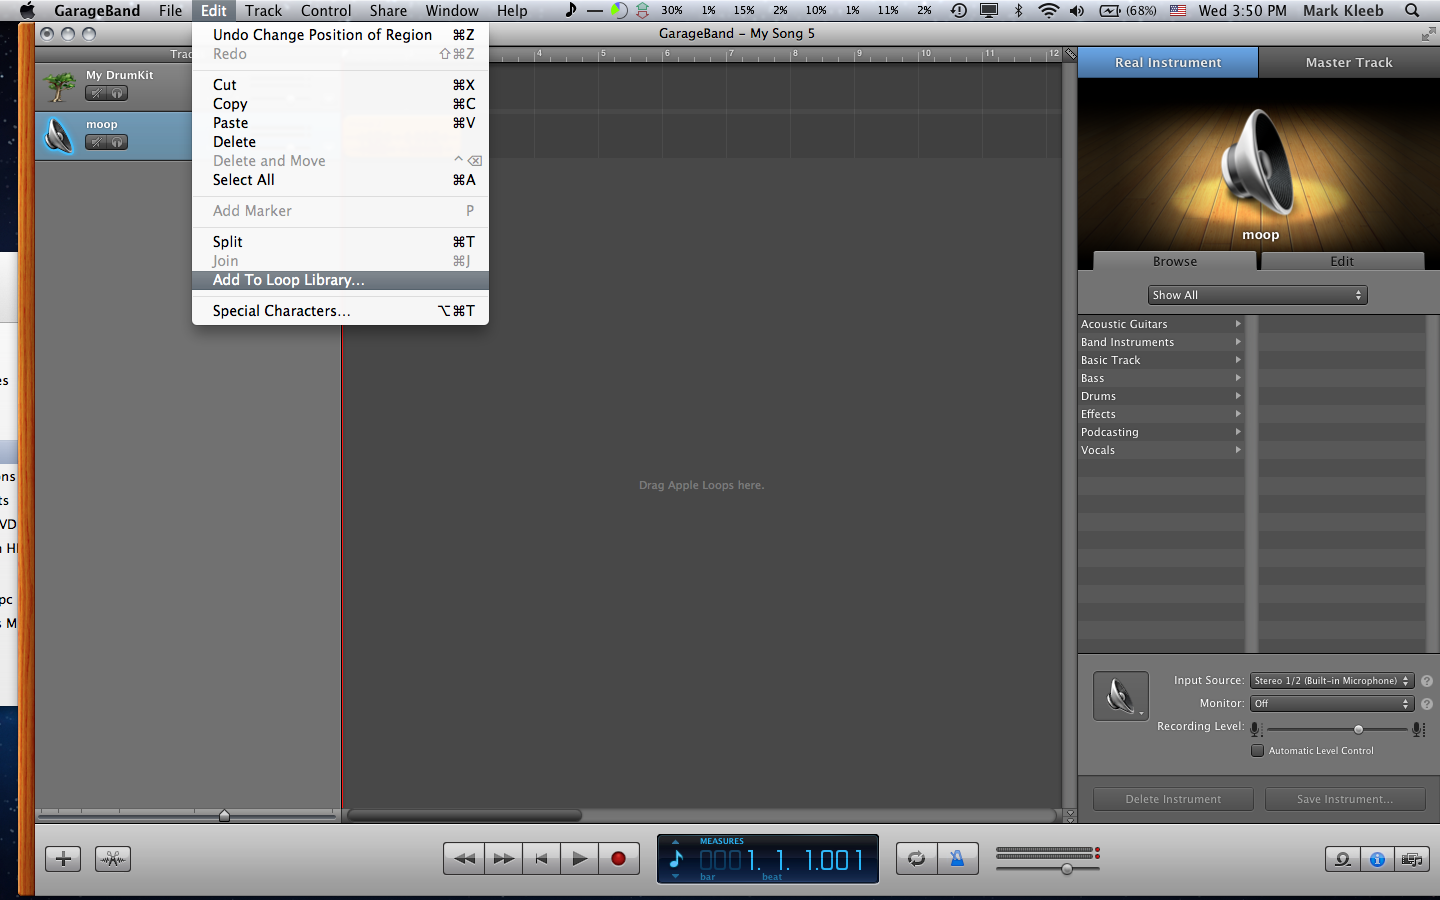
Use the Split command if you want to cut up the sound some more
Week 6: Playing Drums!
Click Add to Loop Library to save this sound
Week 6: Playing Drums!
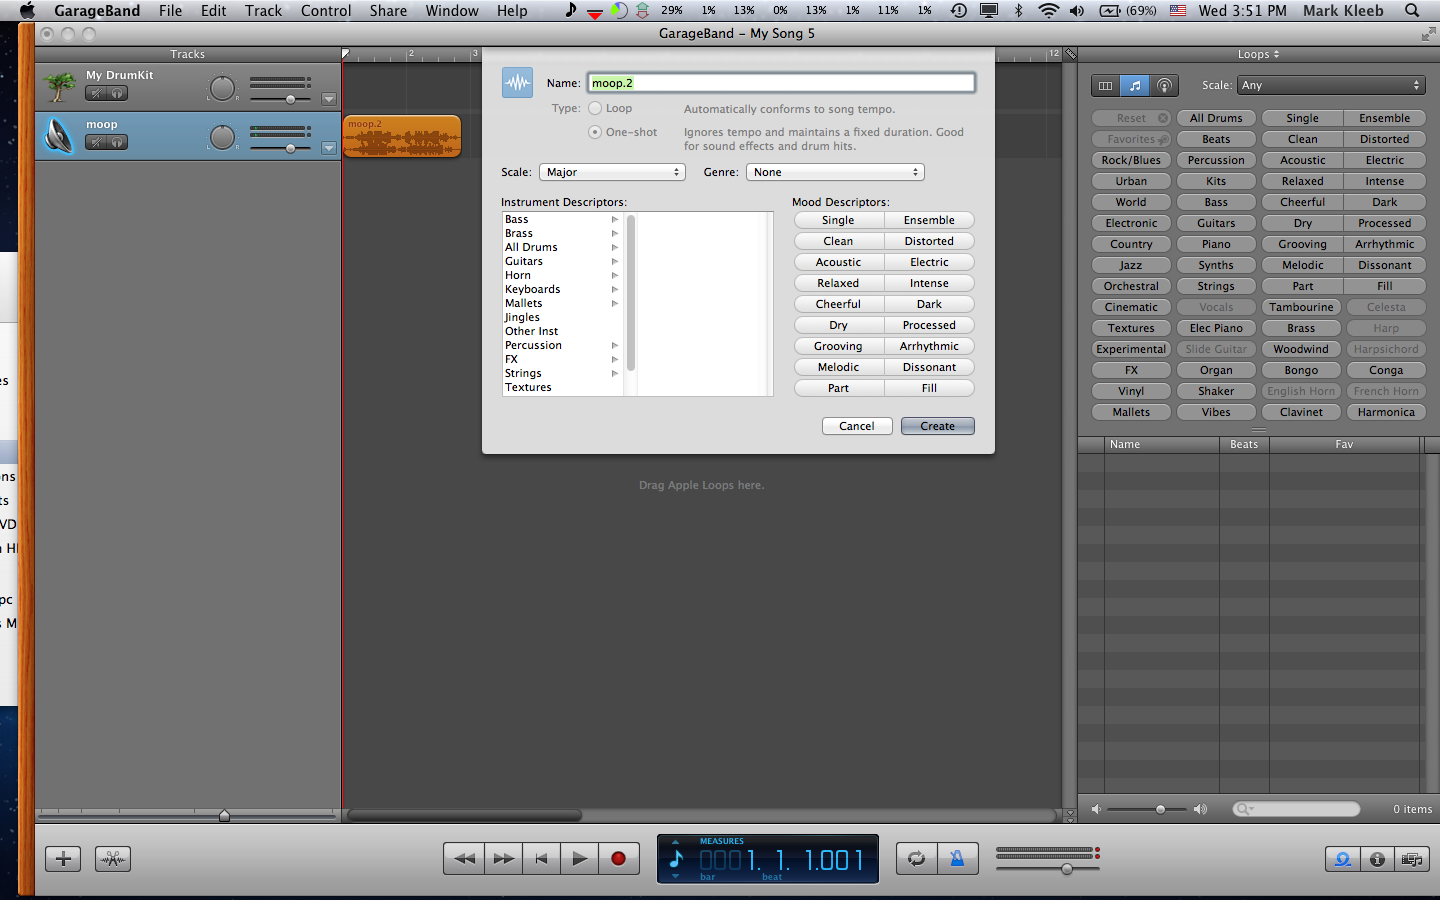
Name this sound however you like and click Create
Week 6: Playing Drums!
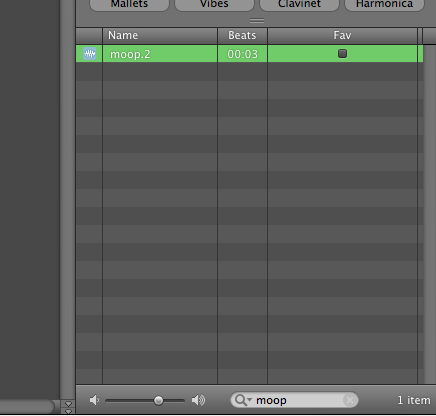
Now, use the Loop Browser in the bottom right to find your loop. Just type in the same name you used earlier.
Week 6: Playing Drums!
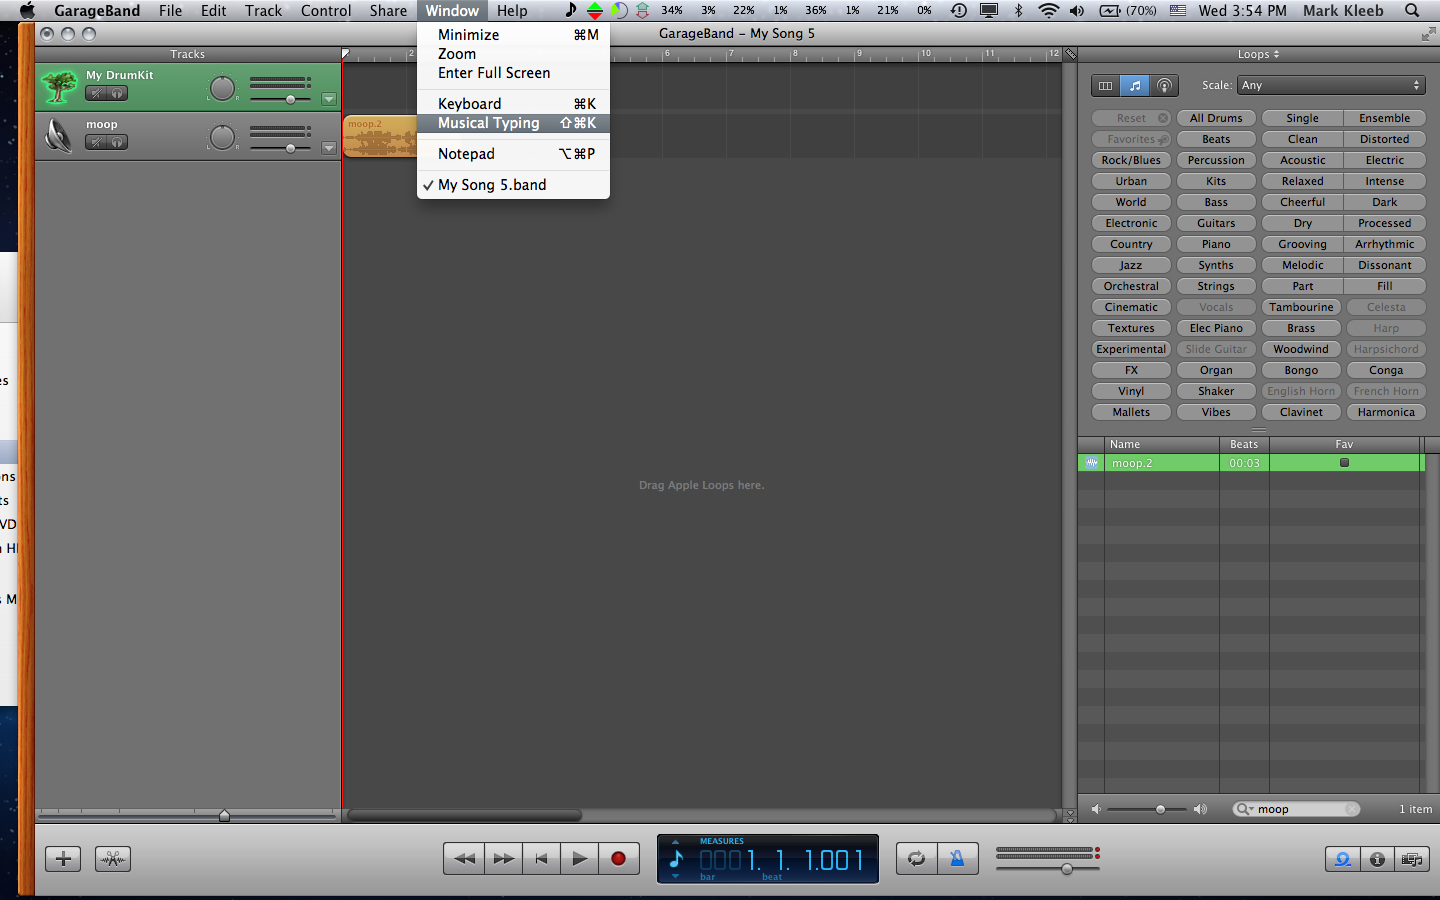
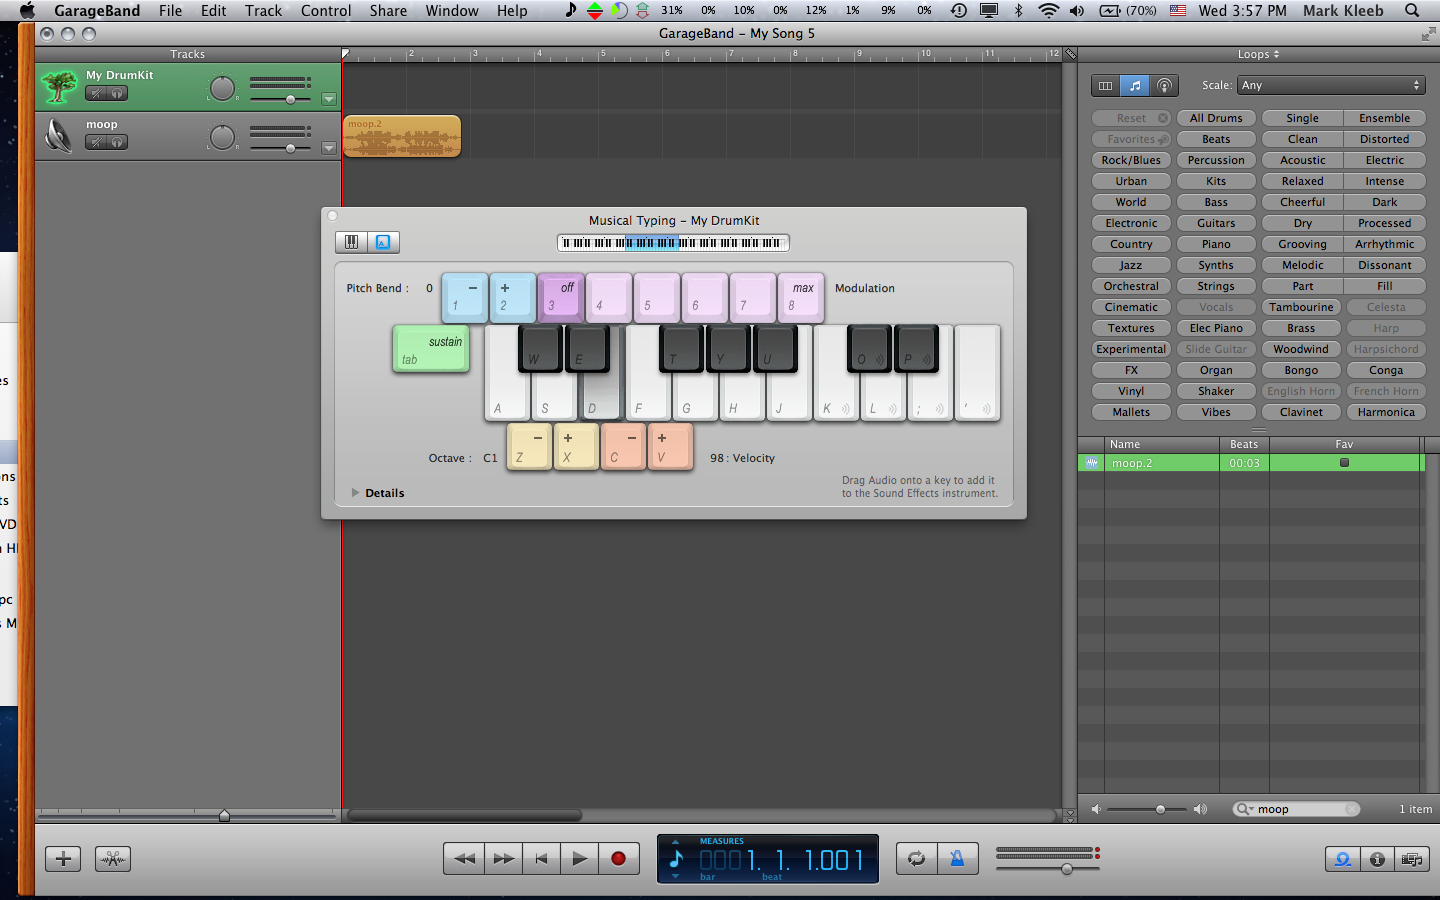
Click back on the top track (the sound effects) and choose Musical Typing
Week 6: Playing Drums!
With Hairless working (green lights flashing), tap your drum pad and see if any of the keys press in GarageBand
If nothing presses, use Z or X keys to scroll up and down. The note is going to be the number you chose inside Arduino.
Week 6: Playing Drums!
Once you find the note, just drag the sound to that key

Week 6: Playing Drums!
When you set all three pads, hit the record button, and make a song!
Contact
For more information about this class, or to learn more about MIDI and Arduino, contact me at mark@kleebtronics.com
Thanks!

←
→
/
#